Mastering DIY Projects: Essential Planning Tips to Avoid Costly Errors
- Support Inbox
- Apr 7
- 3 min read

Starting a DIY project can be thrilling, but without careful planning, it often leads to wasted time, money, and frustration. The key to a successful project lies in three critical areas: accurate calculations, using the right tools, and making smart decisions throughout the process. This guide will walk you through how to plan your DIY project the right way, helping you avoid costly mistakes and get the most out of your investment.

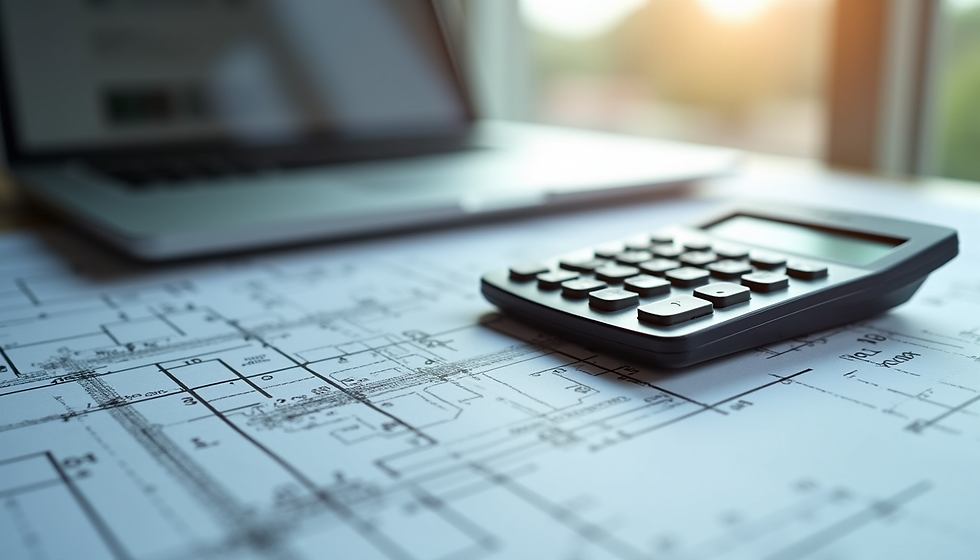
An organized workspace with essential tools and plans ready for a DIY project
Start with Accurate Calculations, Not Guesswork
Before you buy any materials or tools, you need to understand the scope of your project. Guessing how much material you need or how much the project will cost often leads to overspending or running out of supplies mid-way.
Ask yourself:
How much material do I need?
What is the total square footage or volume involved?
What will the total cost be?
Using online calculators can help you answer these questions precisely. Here are some essential calculators to use first:
Square Footage Calculator: Measures the area you need to cover, such as walls or floors.
Flooring Calculator: Helps estimate the amount of flooring material required.
Concrete Calculator: Calculates the volume of concrete needed for slabs or footings.
Material Estimator: Provides an overview of all materials based on your project dimensions.
These tools eliminate guesswork, helping you avoid overspending and shortages. Accurate planning means you buy just what you need, saving money and reducing waste.
Get the Tools You Need for Your Project
Once you know the materials and quantities, it’s time to get the right tools. Many essential tools and materials are available through trusted affiliate partners, making it easy to shop for everything in one place.
You might need:
Power tools like drills and saws
Measuring tools such as tape measures and laser measurers
Flooring materials or concrete tools depending on your project
Project planning software to keep everything on track
[Shop Tools & Materials Here]
[Compare Professional Project Tools]
Choose the Right Tools for Efficiency and Quality
Using the wrong tools slows you down, lowers the quality of your work, and can increase costs. Choosing the right tools is essential for a smooth project.
Essential Tool Categories
Measuring Tools
Tape measure
Laser measurer
Level
Power Tools
Drill
Impact driver
Saw
Material-Specific Tools
Flooring tools
Concrete tools
Remodeling tools
Having the right tools not only speeds up your work but also improves the final result. For example, a laser measurer provides more precise measurements than a tape measure, reducing errors.
Upgrade Your DIY with Professional Tools
Many people don’t realize that contractors use software to estimate jobs, plan projects, and manage costs. You can use the same professional tools to improve your DIY project management.
Use Professional Project Tools to Stay on Track
Managing a DIY project involves more than just buying materials and tools. Keeping track of costs, timelines, and tasks is crucial to avoid surprises.
Professional Project Tools (Recommended)
Estimating software to calculate costs accurately
Project planning software to schedule tasks and deadlines
Cost management tools to monitor your budget
These tools help you stay organized and make informed decisions throughout your project.
Plan Smart to Avoid Common DIY Mistakes
Many DIY projects fail because of poor planning. Here are some common mistakes and how to avoid them:
Underestimating Material Needs
Use calculators to get exact measurements and quantities.
Skipping Tool Preparation
Make sure you have all the necessary tools before starting.
Ignoring Project Timeline
Plan your schedule realistically, including time for unexpected delays.
Not Budgeting for Extras
Set aside a contingency budget for unexpected costs.
Practical Example: Planning a Flooring Project
Imagine you want to install new flooring in your living room. Here’s how to plan it right:
Measure the room’s length and width using a tape measure or laser measurer.
Use a flooring calculator to determine how many square feet of flooring you need.
Calculate the total cost based on the price per square foot.
Buy the right tools: flooring cutter, underlayment, and installation kit.
Use project planning software to schedule each step: removal of old flooring, preparation, installation, and finishing.
Keep track of your budget and timeline to avoid surprises.
Final Thoughts
Planning your DIY project carefully saves you time, money, and stress. Start with accurate calculations, choose the right tools, and use professional project management tools to stay organized. With these steps, you can avoid costly mistakes and make your DIY project a rewarding success.


Comments